
Are you new to Instagram and perhaps a little intimidated by where and how to start sharing your photos? You probably started on Instagram by looking around at some of the big brands that are really active (Nike, GoPro, Starbucks), and developed a little case of “social media analysis paralysis”. “SMAP” is what happens when you want to post something that is noteworthy, sharable and will possibly “go viral”. You spend so much time analyzing and trying to get “just the right shot”, that you end up doing nothing at all.
It’s not rocket science. Besides, Instagram makes it even easier by giving you some great tools right at your fingertips to make you look like a pro. Here are a few basic tips to keep in mind when you’re framing your shot for sharing on Instagram.
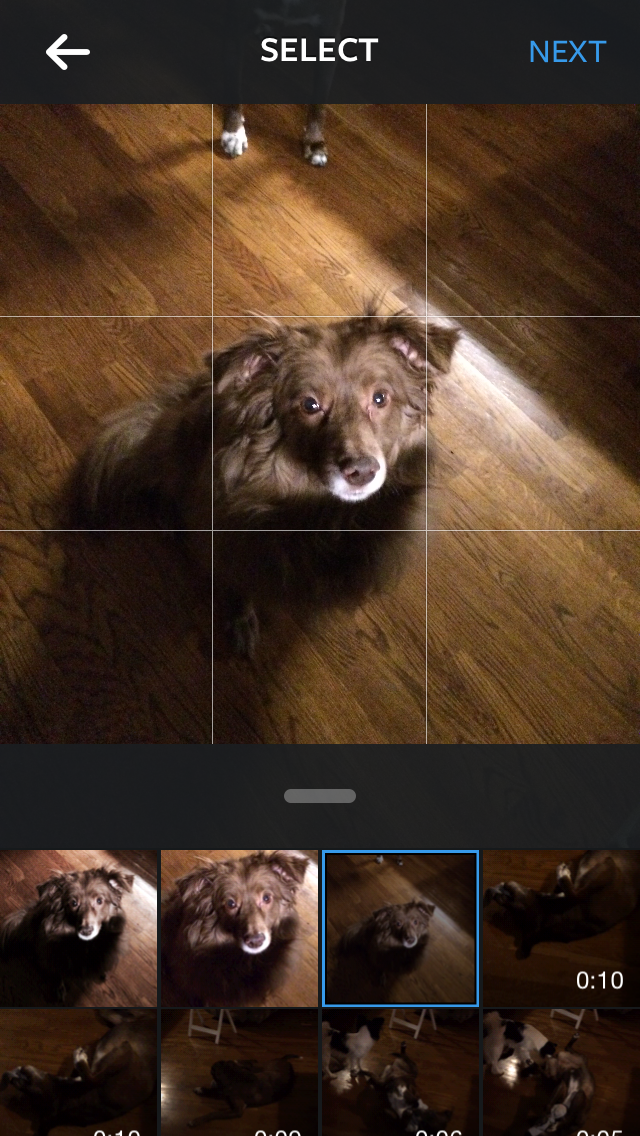
For demonstration purposes, I’m using a photo of Helo, who happens to be one of my favorite subjects. The example below is the unedited photo directly from my photo library uploaded into Instagram. Though it’s centered within the grid, it’s pretty uninteresting.

Basic Composition
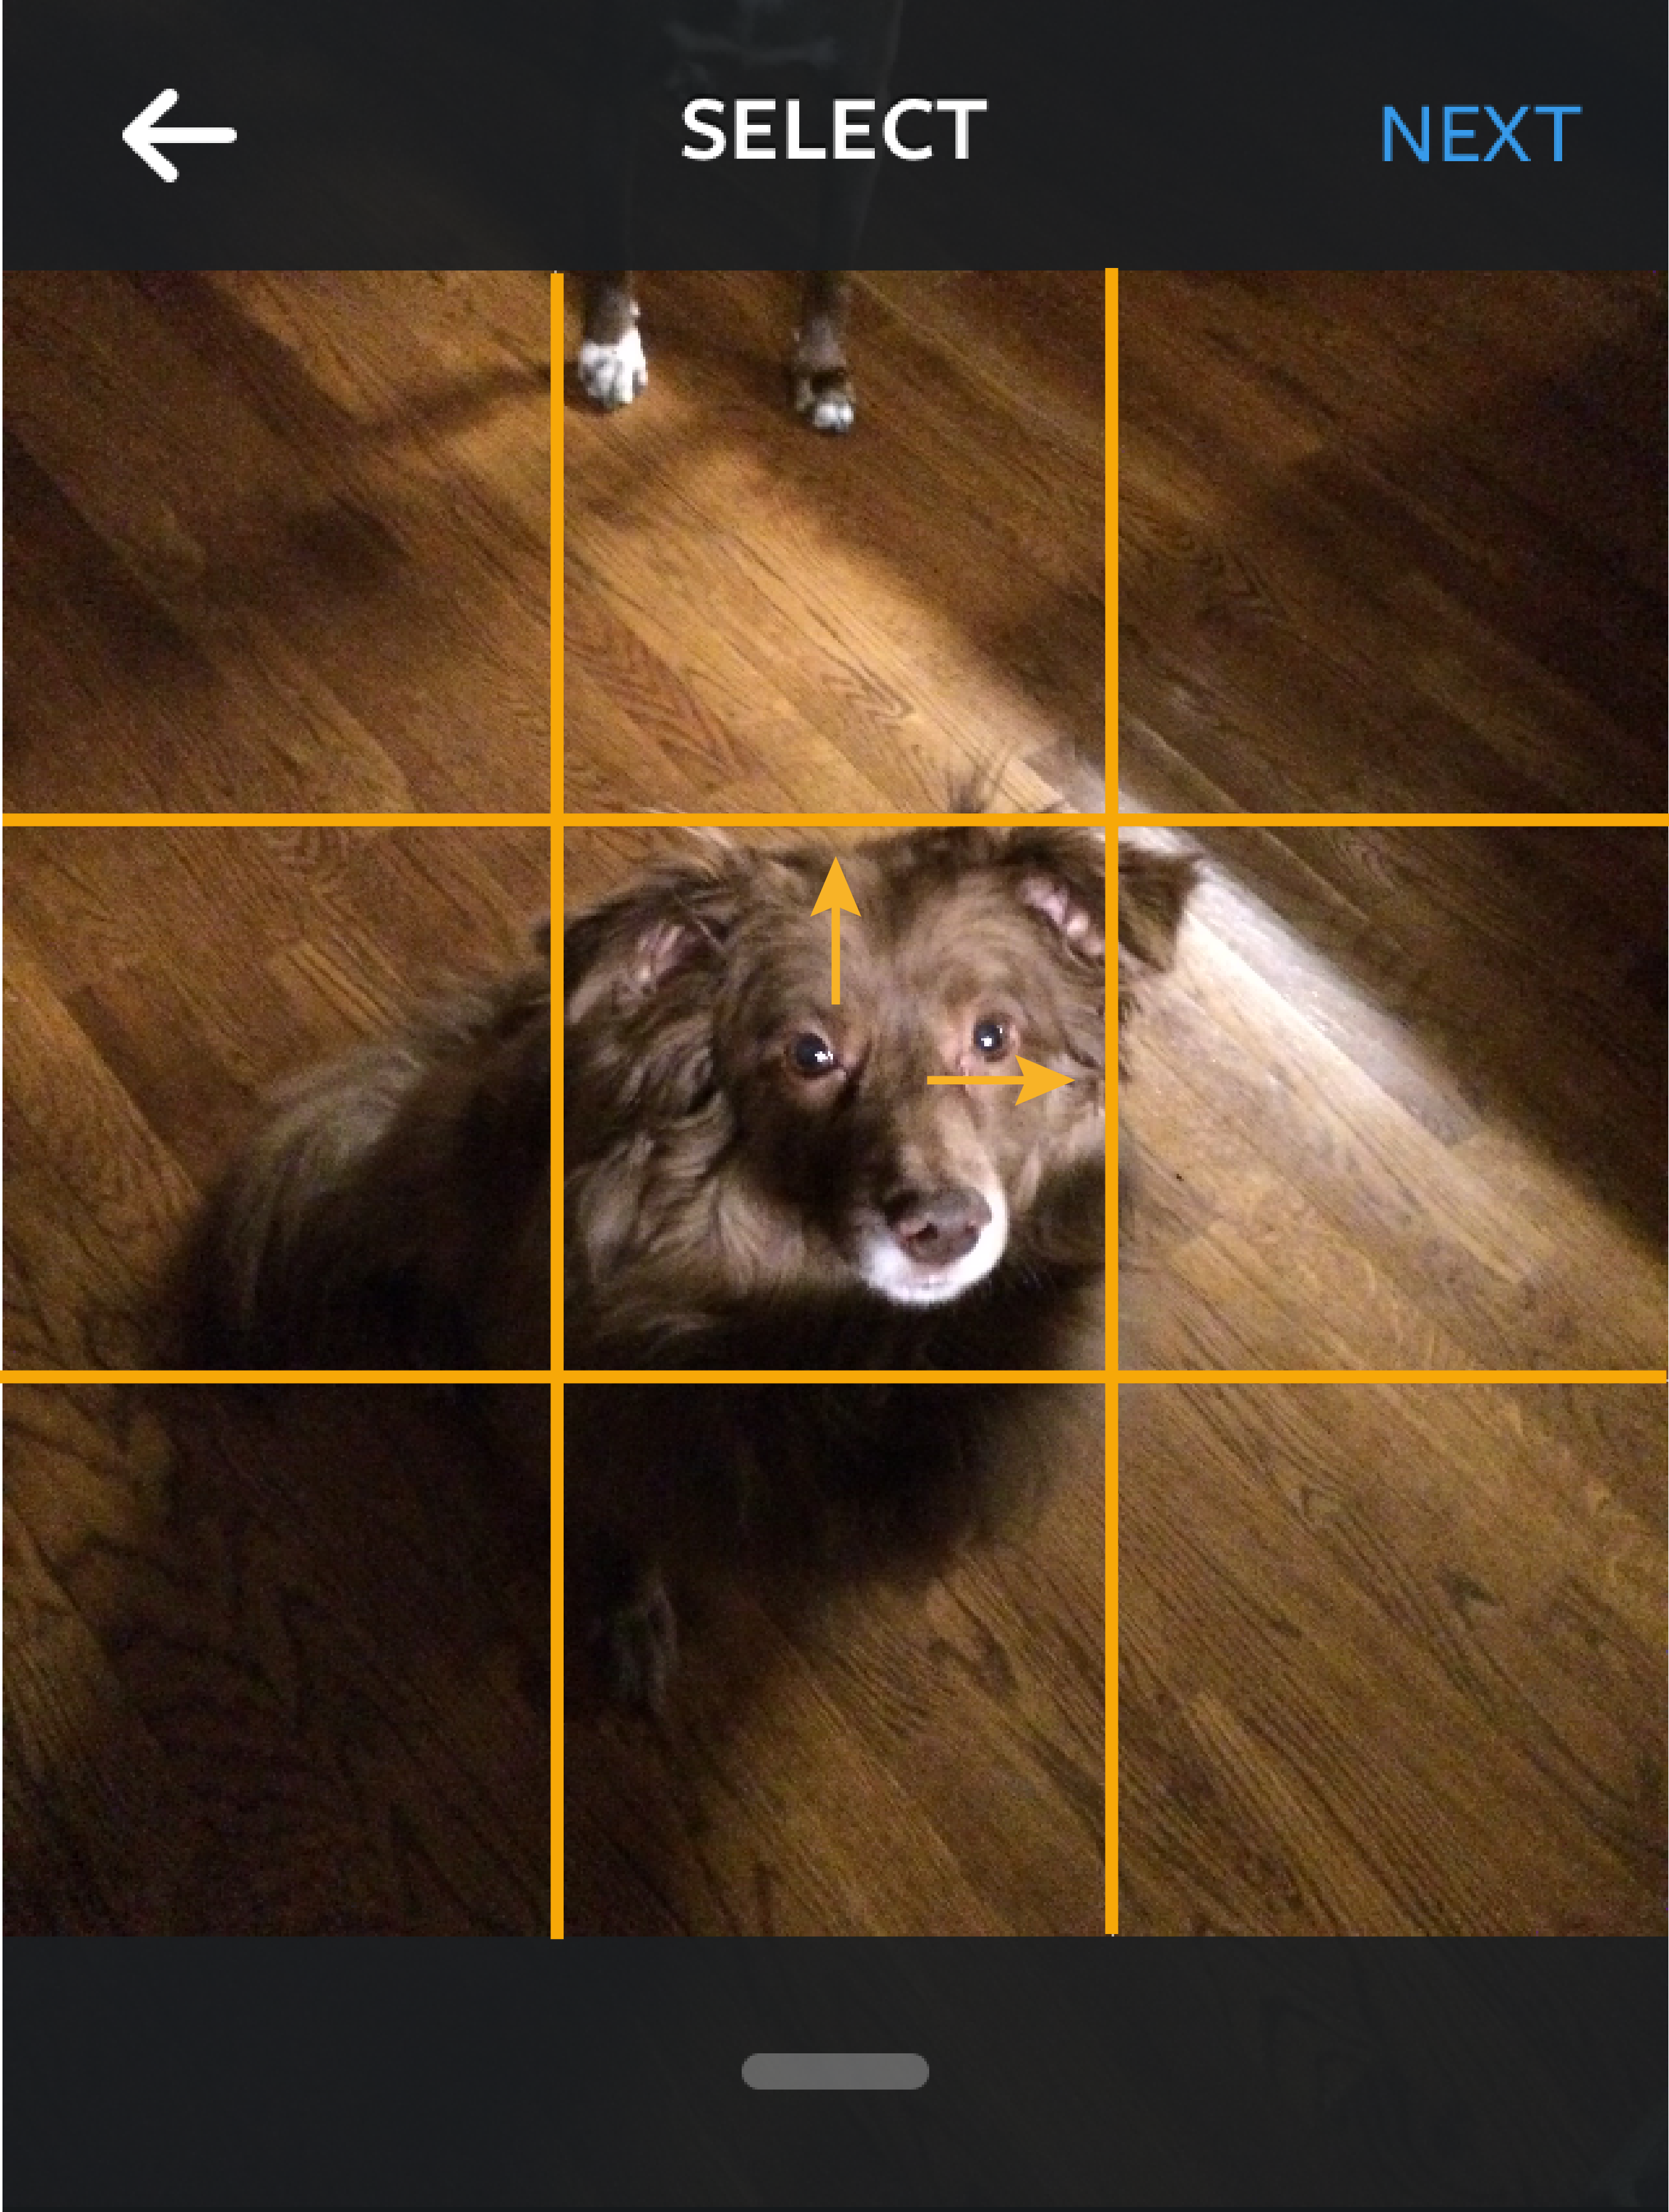
Remember the “rule of thirds”. Think of your photo as a grid with nine squares (See photo below). If you’re shooting your photo directly in Instagram, it takes care of this for you so you don’t have to imagine it. Position your subject matter along these lines and you’ll get a much more dramatic shot.


If you’re loading a photo into Instagram (as I did) that wasn’t taken within the app itself, never fear. When you select the photo you want to use, the grid is overlaid automatically.
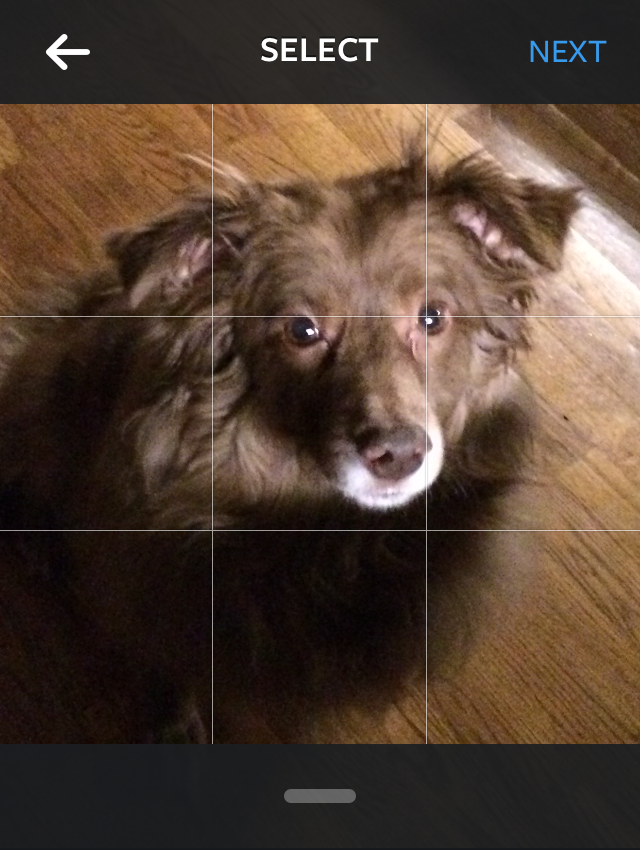
Use the grid to position, scale and crop your subject along the lines and create the drama that way. For example, when I enlarged and repositioned Helo’s face I used the upper, right two thirds of the grid.
Lighting
Pay attention to where the light source is in your image. If you’re shooting outdoors, having the sun behind you is great unless your subjects are people. They may be squinting to keep the sun out of their eyes if they are facing you directly.
By the same token, you don’t want the sun behind them either. Shooting directly into the sun makes it difficult to properly light the faces of your subjects. Early morning and late afternoon sun can create interesting impact with a lot of contrast.
If you’re shooting indoors, you may or may not want to use your flash. You have the option to play around with it if you’re using the camera app on your phone instead of using Instagram. In other words, to select and post only your best photos on your IG profile, try taking the same shot with and without a flash with just your phone’s camera.
Using the same example, the lighting was good and I loved the angle. It just needed a little tweaking.
Fun with Filters
Possibly the coolest thing about Instagram is the filter feature. Here is where you will want to experiment and find your favorites – there are over 20 to choose from.
When you’re using this feature, once you have selected the filter you want to apply, tap it twice and you can change the degree to which the filter is applied if you want something a little more subtle. This is also the area to select a frame for your image by clicking on the box.
Here are a few of my personal favorites that you may want to try (left to right):
- Lo-Fi – Creates a really dramatic image without any other adjustments.
- Earlybird – Great for a TBT (Throw Back Thursday) image; looks like an old Polaroid.
- Inkwell – Nothing quite like a classic black and white image. You may want to play with the contrast a bit to get just the right look.
- Nashville – If you use this one, definitely apply the frame. It will give your image the look of an old piece of film.

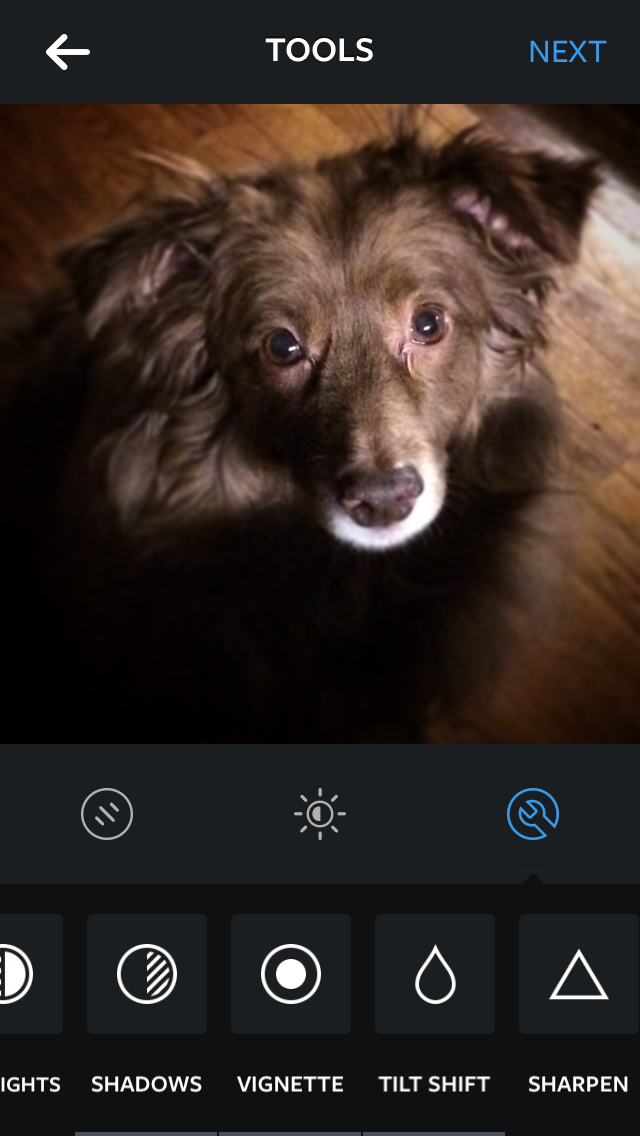
Try the Tools
If you prefer to “do it yourself” when creating images for your followers, then skip the filters and try out the tools. IG has quite an array of editing tools. For example, if you have items in the background that you can’t remove by cropping, use the “tilt shift” tool to blur everything except what you want to be in focus. For this tool, choose either “radial” or “linear” and use your fingers to change the area that you want in focus. You can also use “vignette” in the same manner; to direct focus to the part of the image that you want to be noticed.
Mind your Settings
One rather important thing to remember about Instagram: if you are taking photos within the app itself (not just uploading them there), filtered photos are only saved to your camera roll or gallery AFTER you have shared them. To make certain that the original photo is saved, go to Options under your Instagram profile and turn on “Save Original Photos”.
Leverage your Content
When you’re ready to post your posts, you have the option to cross post in other social channels such as Facebook, Twitter, Tumblr, Flickr, and Foursquare. If you have a larger audience on any of these, it’s a great way to let them know to find you on Instagram.
Important note: In order to post Instagram photos to Twitter and have them show up in your feed, you’ll need to use a tool called “If This Then That” (IFTTT.com). This handy little tool will bypass Instagram turning off Twitter cards when you post a photo. (Without this tool, your Instagram photos will simply show up in your tweet as a link to the Instagram site.)
Scheduling your Posts
If you’re using Instagram to build engagement as you are with other social media channels, there may be times when you need to schedule a few posts ahead of time. Here are a few schedulers out there specifically for Instagram that you may want to check out:
Now you have all the basics. Grab your phone and get started. I can’t wait to see what you come up with. If you want to see more pictures of my crew, you can follow me on Instagram.

![]()

